Squid をインストールして プロキシサーバーを構築する手順を紹介します。
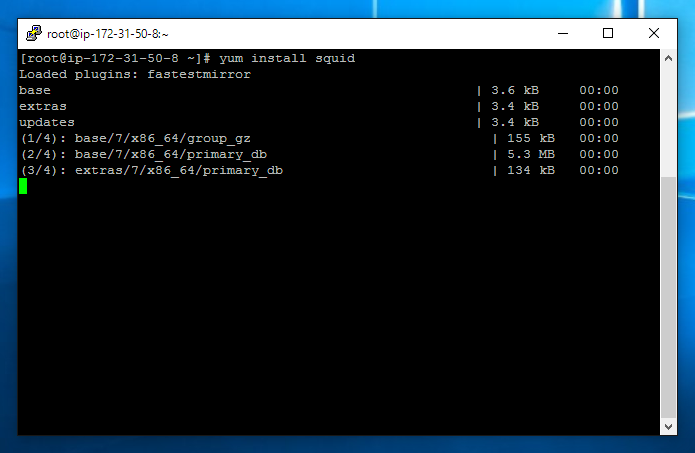
コンソールで下記のコマンドを実行します。
yum install squid
squidのインストールが始まります。
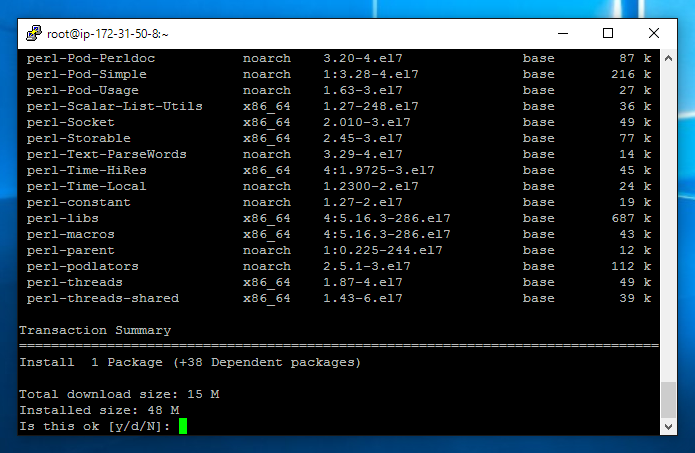
検証が完了すると、インストールの確認プロンプトが表示されます。"y"を入力して続行します。
インストール中です。
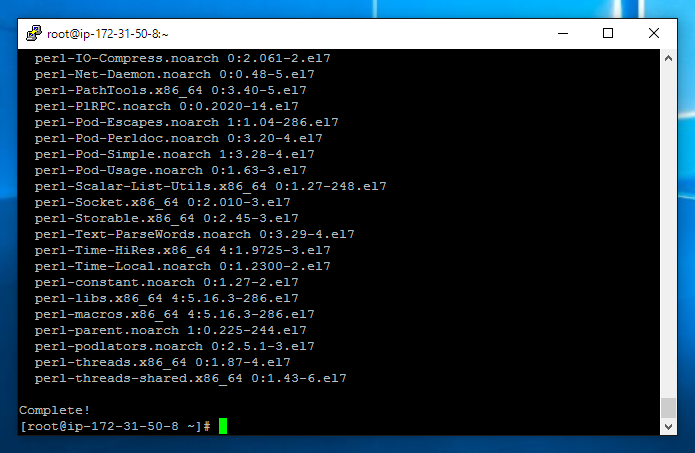
インストールが完了しました。"Complete!"のメッセージが表示されます。
設定ファイルを変更します。
/etc/squid/squid.conf ファイルをエディタで開きます。
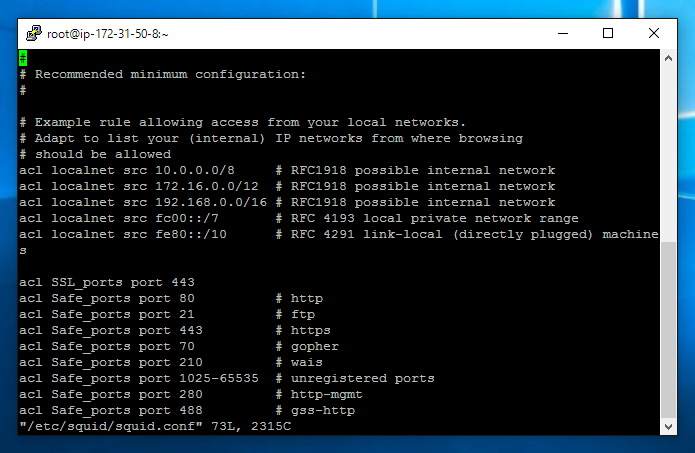
#
# Recommended minimum configuration:
#

# Example rule allowing access from your local networks.
# Adapt to list your (internal) IP networks from where browsing
# should be allowed
acl localnet src 10.0.0.0/8	# RFC1918 possible internal network
acl localnet src 172.16.0.0/12	# RFC1918 possible internal network
acl localnet src 192.168.0.0/16	# RFC1918 possible internal network
acl localnet src fc00::/7       # RFC 4193 local private network range
acl localnet src fe80::/10      # RFC 4291 link-local (directly plugged) machines

acl SSL_ports port 443
acl Safe_ports port 80		# http
acl Safe_ports port 21		# ftp
acl Safe_ports port 443		# https
acl Safe_ports port 70		# gopher
acl Safe_ports port 210		# wais
acl Safe_ports port 1025-65535	# unregistered ports
acl Safe_ports port 280		# http-mgmt
acl Safe_ports port 488		# gss-http
acl Safe_ports port 591		# filemaker
acl Safe_ports port 777		# multiling http
acl CONNECT method CONNECT

#
# Recommended minimum Access Permission configuration:
#
# Deny requests to certain unsafe ports
http_access deny !Safe_ports

# Deny CONNECT to other than secure SSL ports
http_access deny CONNECT !SSL_ports

# Only allow cachemgr access from localhost
http_access allow localhost manager
http_access deny manager

# We strongly recommend the following be uncommented to protect innocent
# web applications running on the proxy server who think the only
# one who can access services on "localhost" is a local user
#http_access deny to_localhost

#
# INSERT YOUR OWN RULE(S) HERE TO ALLOW ACCESS FROM YOUR CLIENTS
#

# Example rule allowing access from your local networks.
# Adapt localnet in the ACL section to list your (internal) IP networks
# from where browsing should be allowed
http_access allow localnet
http_access allow localhost

# And finally deny all other access to this proxy
http_access deny all

# Squid normally listens to port 3128
http_port 3128

# Uncomment and adjust the following to add a disk cache directory.
#cache_dir ufs /var/spool/squid 100 16 256

# Leave coredumps in the first cache dir
coredump_dir /var/spool/squid

#
# Add any of your own refresh_pattern entries above these.
#
refresh_pattern ^ftp:		1440	20%	10080
refresh_pattern ^gopher:	1440	0%	1440
refresh_pattern -i (/cgi-bin/|\?) 0	0%	0
refresh_pattern .		0	20%	4320
#
# Recommended minimum configuration:
#

# Example rule allowing access from your local networks.
# Adapt to list your (internal) IP networks from where browsing
# should be allowed
acl localnet src 10.0.0.0/8	# RFC1918 possible internal network
acl localnet src 172.16.0.0/12	# RFC1918 possible internal network
acl localnet src 192.168.0.0/16	# RFC1918 possible internal network
acl localnet src fc00::/7       # RFC 4193 local private network range
acl localnet src fe80::/10      # RFC 4291 link-local (directly plugged) machines

acl SSL_ports port 443
acl Safe_ports port 80		# http
acl Safe_ports port 21		# ftp
acl Safe_ports port 443		# https
acl Safe_ports port 70		# gopher
acl Safe_ports port 210		# wais
acl Safe_ports port 1025-65535	# unregistered ports
acl Safe_ports port 280		# http-mgmt
acl Safe_ports port 488		# gss-http
acl Safe_ports port 591		# filemaker
acl Safe_ports port 777		# multiling http
acl CONNECT method CONNECT
acl myip src nnn.nnn.nnn.nnn/mmm.mmm.mmm.mmm    #追加:接続するクライアントのIPアドレス、ネットマスク

#
# Recommended minimum Access Permission configuration:
#
# Deny requests to certain unsafe ports
http_access deny !Safe_ports

# Deny CONNECT to other than secure SSL ports
http_access deny CONNECT !SSL_ports

# Only allow cachemgr access from localhost
http_access allow localhost manager
http_access allow myip     #追加
http_access deny manager

# We strongly recommend the following be uncommented to protect innocent
# web applications running on the proxy server who think the only
# one who can access services on "localhost" is a local user
#http_access deny to_localhost

#
# INSERT YOUR OWN RULE(S) HERE TO ALLOW ACCESS FROM YOUR CLIENTS
#

# Example rule allowing access from your local networks.
# Adapt localnet in the ACL section to list your (internal) IP networks
# from where browsing should be allowed
http_access allow localnet
http_access allow localhost

# And finally deny all other access to this proxy
http_access deny all

# Squid normally listens to port 3128
http_port 3128

# Uncomment and adjust the following to add a disk cache directory.
#cache_dir ufs /var/spool/squid 100 16 256

# Leave coredumps in the first cache dir
coredump_dir /var/spool/squid

#
# Add any of your own refresh_pattern entries above these.
#
refresh_pattern ^ftp:		1440	20%	10080
refresh_pattern ^gopher:	1440	0%	1440
refresh_pattern -i (/cgi-bin/|\?) 0	0%	0
refresh_pattern .		0	20%	4320

#以下は必要に応じて追加
header_access X-Forwarded-For deny all
header_access Via deny all
header_access Cache-Control deny al;
acl myip src nnn.nnn.nnn.nnn/mmm.mmm.mmm.mmm #追加:接続するクライアントのIPアドレス、ネットマスク
http_access allow myip #追加
の行を追加します。
acl myip src 183.77.157.191/255.255.255.255
http_access allow myip
header_access X-Forwarded-For deny all
header_access Via deny all
header_access Cache-Control deny al;
の行を必要に応じて追加します。
プロキシサーバーにアクセスしているクライアントのIPアドレスが格納されている、環境変数 "X-Forwarded-For" を返さない動作にします。
中継したソフトウェアやプロトコルの格納されている環境変数 "Via" を返さない動作にします。
キャッシュに関する内容が記述される環境変数 "Cache-Control" を返さない動作にします。
設定ファイルを修正後、squidを起動します。今回のOSはCentOS7のため以下のコマンドを実行します。
systemctl start squid
起動できるとエラーメッセージなどは表示されず、プロンプトに戻ります。
動作状態の確認は以下のコマンドで確認できます。詳しくは「CentOS7でサービスの起動状態を確認する」の記事を参照してください。
systemctl status squid