iPad Airを入手する機会があったのでレビューします。
今回使用したのはau版のiPad Airです。
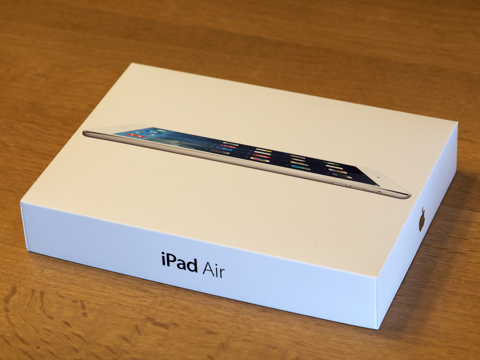
下図がiPad Airの箱です。シンプルな箱です。
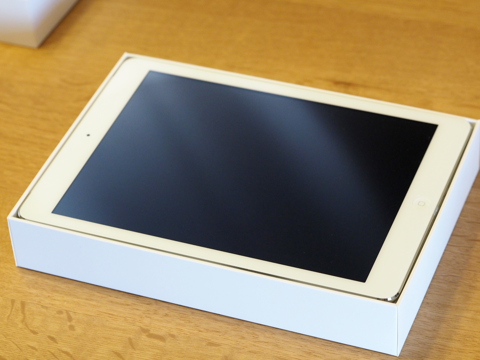
ふたを開けるとiPad本体が見えます。
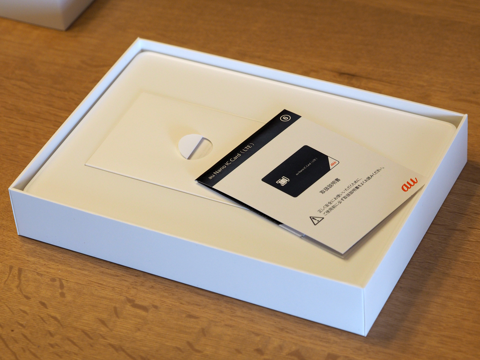
iPad本体をどけます。取扱説明書の箱が見えます。
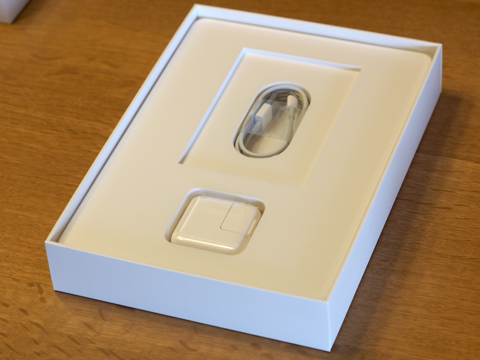
取扱説明書を取り出すと充電アダプタとUSBケーブルが見えます。
iPad Airの電源を入れます。下図のHello, こんにちわのメッセージが表示されます。

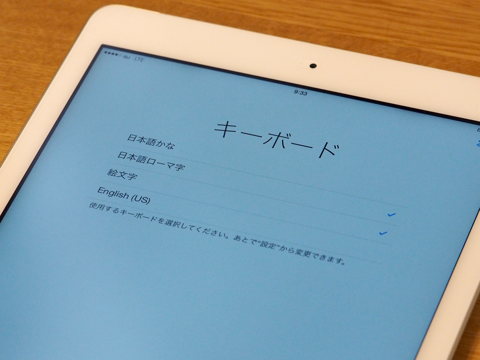
キーボードの設定画面が表示されます。使用するキーボードにチェックをつけ次に進みます。
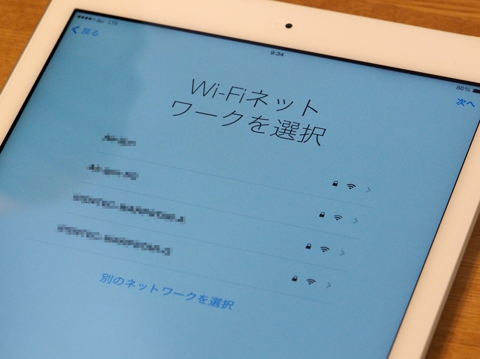
接続するWi-Fiネットワークのアクセスポイントを選択します。
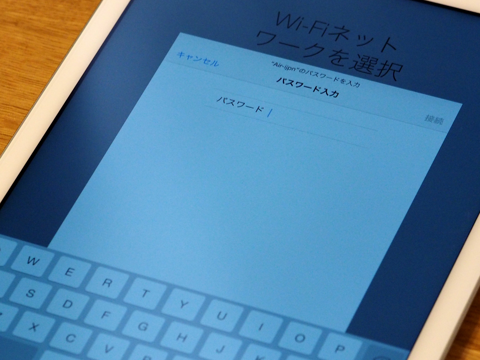
選択後、アクセスポイントのパスワードを入力します。
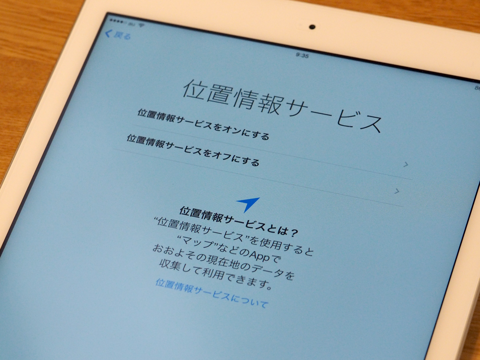
位置情報サービスの利用に関する設定をします。
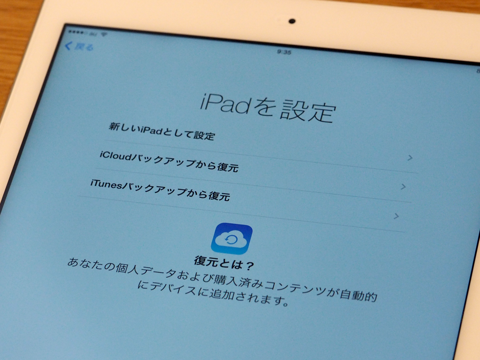
iPad本体の設定をします。今回は新しいiPadとして設定するため[新しいiPadとして設定]を選択します。
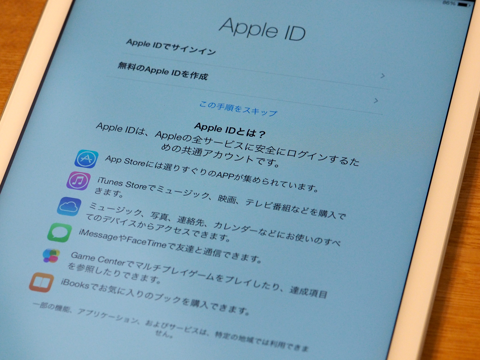
Apple IDの設定をします。今回AppleIDを持っていないため[無料のApple IDを作成]を選択します。
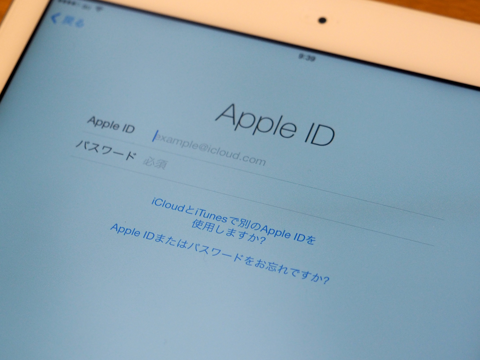
作成したいApple IDとパスワードを設定します。
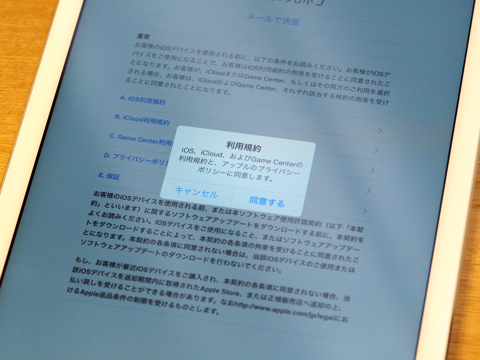
利用規約に同意します。
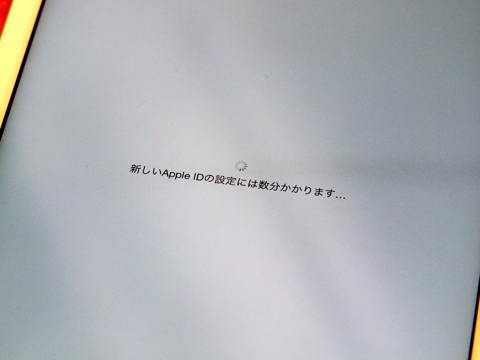
AppleIDの設定が始まります。数分ほど時間がかかります。
設定が終わるとiCloudの設定画面が表示されます。今回はiCloudを使用することにします。
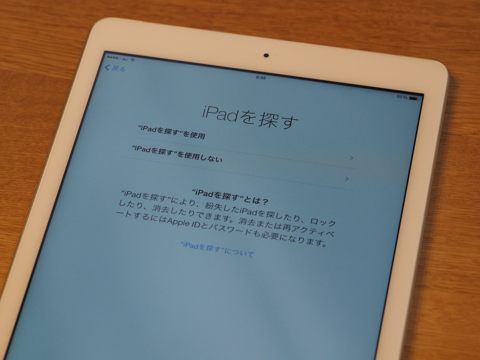
[iPadを探す]設定画面が表示されます。このiPadは持ち出さないため["iPadを探す"を設定しない]を選択しました。
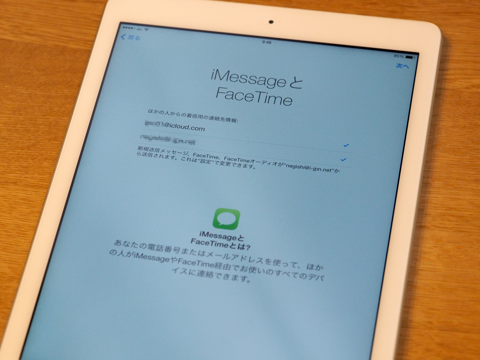
"iMessageとFaceTime"の設定画面が表示されます。今回はデフォルトのままとしました。右上の[次へ]をタップします。
iCloudの設定がアップデートされます。
iPadにログインするためのパスコードを作成します。
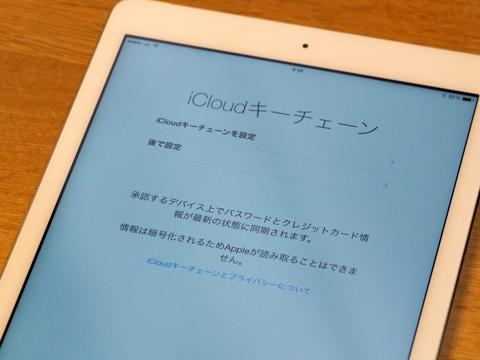
[iCloudキーチェーン]の設定画面が表示されます。今回は[iCloudキーチェーンを作成]をタップします。
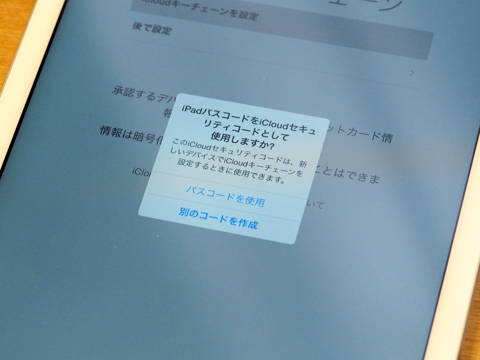
iPadのパスコードをiCloudセキュリティーコードとして使用するかの確認があります。パスワードが増えると管理が煩雑になるので[パスコードを使用]を選択しました。
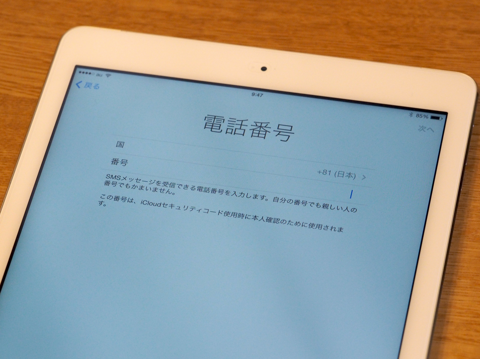
SMSメッセージを受信できる電話番号を入力します。
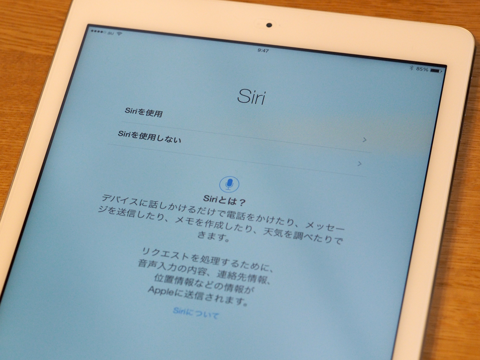
Siriの設定です。今回は[Siriを使用]を選択しました。
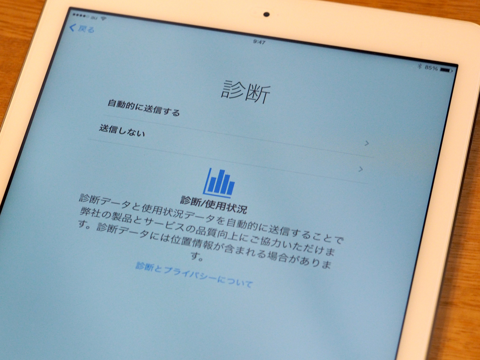
診断情報の送信設定画面です。
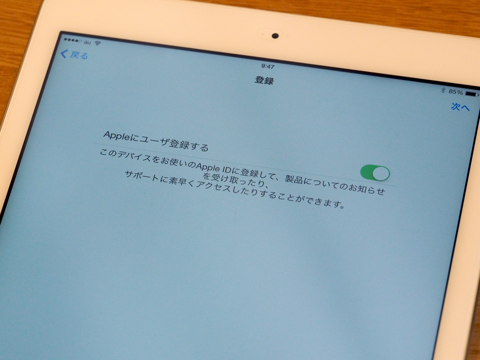
Appleユーザー登録画面が表示されます。登録するか、しないかを選択します。
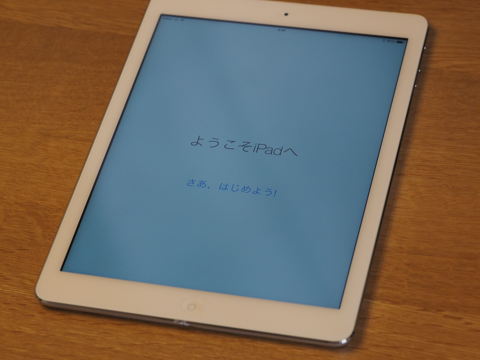
以上で設定が終了です。下図の"ようこそiPadへ"の画面が表示されます。画面をタップします。
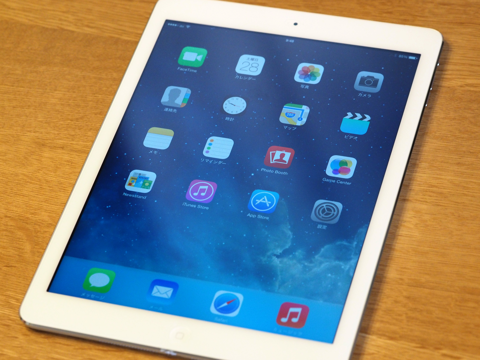
無事iPadのホーム画面が表示されました。
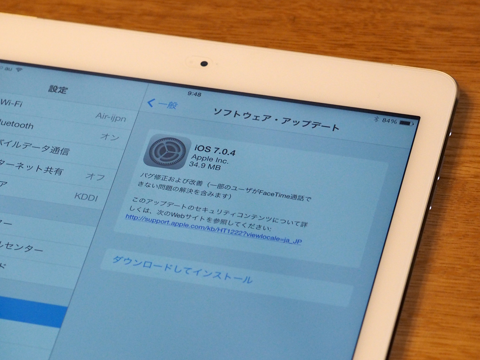
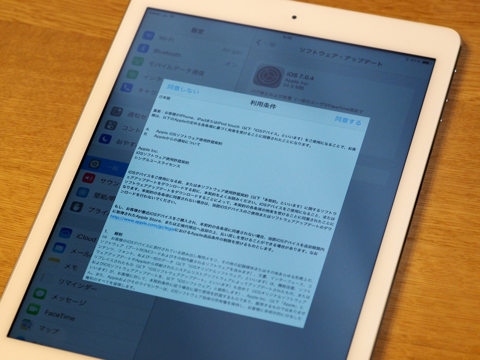
設定画面の[ソフトウェア・アップデート]を確認すると新しいiOSのバージョンにアップデートできるようです。早速アップデートします。
使用条件に同意します。
アップデートが始まります。
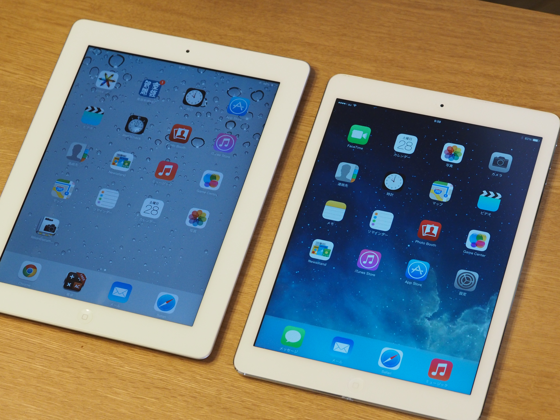
外観は下図です。左がiPad2、右がiPad Airです。
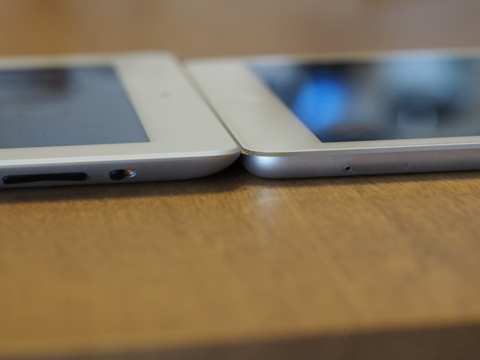
iPad Airのほうがわずかに厚みが薄いですが、それほど大きな違いはありません。
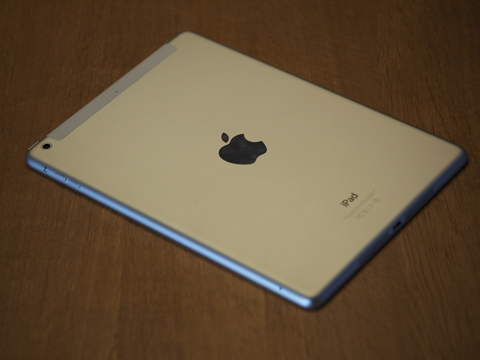
こちらは裏側です。アルミ製です。
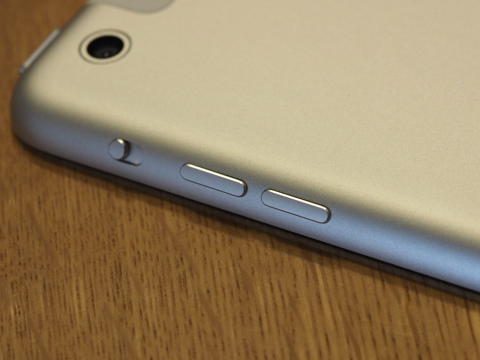
ミュート、ボリュームボタンです。アルミで削り出されたボタンになっています。
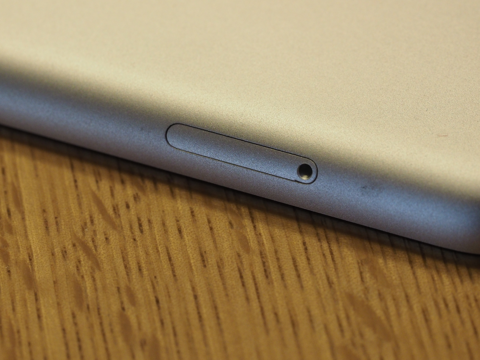
こちらはSimカードスロットです。
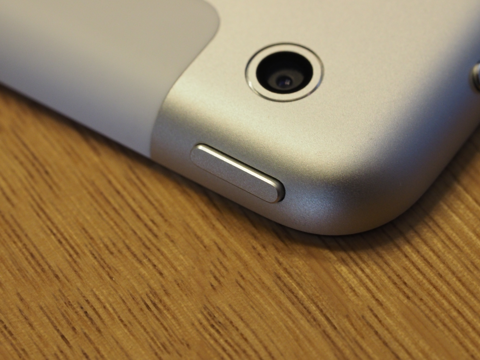
カメラです。
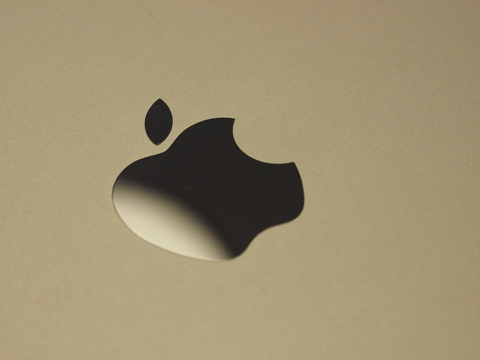
Appleのリンゴのロゴが美しいです。