Stable Diffusion WebUI Forge Classic を導入する手順を紹介します。
Stable Diffusion WebUI Forge Classic をインストールします。
Pythonをインストールします。
インストール手順はこちらの記事を参照してください。
3.11.xx のバージョンが推奨されています。
Git for Windows をインストールします。インストール手順はこちらの記事を参照してください。
別のアプリケーションにGitが含まれている場合は、そのアプリケーションのGitを利用することもできます。(Visual Studio など)
今回は、Stable Diffusion WebUI (A1111) がインストールされている環境に Stable Diffusion WebUI Forge Classicをインストールし、
CheckpointやLoRaのファイルは、A1111に配置されているものを参照する設定でインストールします。
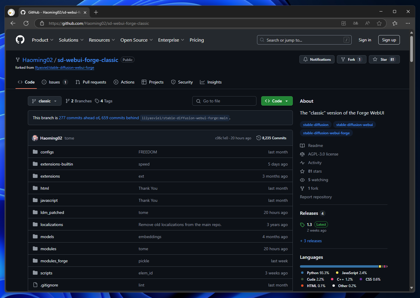
Stable Diffusion WebUI Forge Classicをgitコマンドで、ダウンロードします。
Stable Diffusion WebUI Forge ClassicのGitHubは以下のURLです。
https://github.com/Haoming02/sd-webui-forge-classic
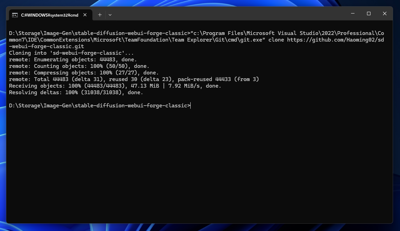
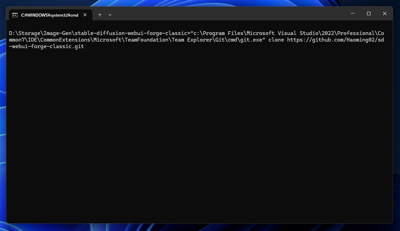
Stable Diffusion WebUI Forge Classicを配置したいディレクトリにカレントディレクトリを変更し、
以下のコマンドを実行します。
git clone https://github.com/Haoming02/sd-webui-forge-classic.git
または
(git.exe のフルパス) clone https://github.com/Haoming02/sd-webui-forge-classic.git
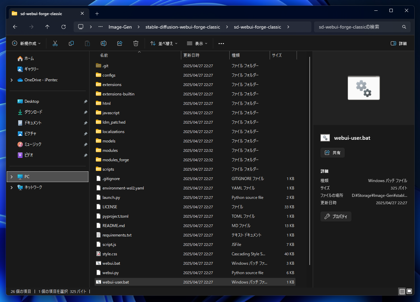
ダウンロードしたファイルの webui-user.bat を編集します。
GitやPythonにPATHが設定されている場合は、ファイルの編集は不要です。
PATHが通っていない場合には、Git.exe Python.exeが配置してあるパスを記述します。
今回は、WebUI A1111 のモデルを参照するため、--ckpt-dir --embeddings-dir --lora-dir のオプションを指定しています。
@echo off

:: set PYTHON=
:: set GIT=
:: set VENV_DIR=

set COMMANDLINE_ARGS= --no-download-sd-model

:: --xformers --sage --uv
:: --pin-shared-memory --cuda-malloc --cuda-stream
:: --skip-python-version-check --skip-torch-cuda-test --skip-version-check --skip-prepare-environment --skip-install

call webui.bat
@echo off

set PYTHON=(python.exe のフルパス)
set GIT=(git.exe のフルパス)
:: set VENV_DIR=

set COMMANDLINE_ARGS= --no-download-sd-model ^
 --xformers --sage --uv ^
 --pin-shared-memory --cuda-malloc --cuda-stream ^
  --ckpt-dir (WebUI A1111のCheckPointディレクトリのフルパス) ^
  --embeddings-dir (WebUI A1111のEmbeddingsディレクトリのフルパス) ^
  --lora-dir (WebUI A1111のLoRAディレクトリのフルパス) ^
  --controlnet-dir (WebUI A1111のControlNetのモデルディレクトリのフルパス)

call webui.bat
@echo off

set PYTHON="C:\Users\toricchi\AppData\Local\Programs\Python\Python310\python.exe"
set GIT=C:\Program Files\Microsoft Visual Studio\2022\Professional\Common7\IDE\CommonExtensions\Microsoft\TeamFoundation\Team Explorer\Git\mingw64\bin\git.exe
:: set VENV_DIR=

set COMMANDLINE_ARGS= --no-download-sd-model ^
  --xformers --sage --uv ^
  --pin-shared-memory --cuda-malloc --cuda-stream ^
  --ckpt-dir D:\\Storage\\Image-Gen\\stable-diffusion-webui-master-sdxl\\stable-diffusion-webui\\models\\Stable-diffusion ^
  --embeddings-dir D:\\Storage\\Image-Gen\\stable-diffusion-webui-master-sdxl\\stable-diffusion-webui\\embeddings ^
  --lora-dir D:\\Storage\\Image-Gen\\stable-diffusion-webui-master-sdxl\\stable-diffusion-webui\\models\\lora ^
  --controlnet-dir  D:\\Storage\\Image-Gen\\stable-diffusion-webui-master-sdxl\\stable-diffusion-webui\\models\\ControlNet

call webui.bat
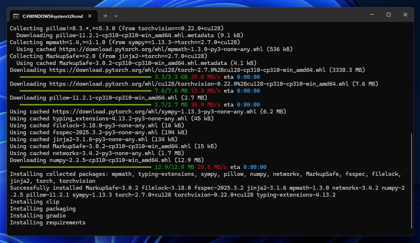
修正した、webui-user-bat を実行します。
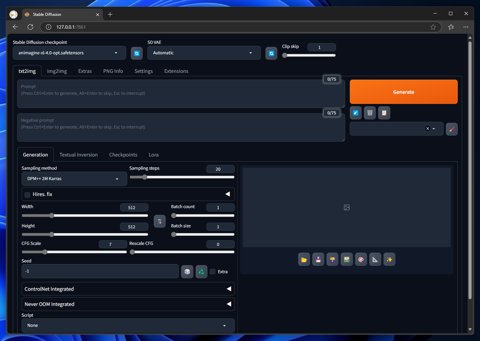
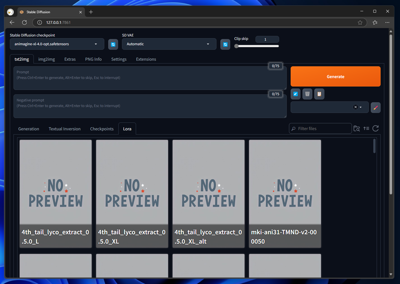
必要となるパッケージのダウンロードが実行され、インストールが完了すると、Webブラウザが起動し、 下図のページが表示されます。
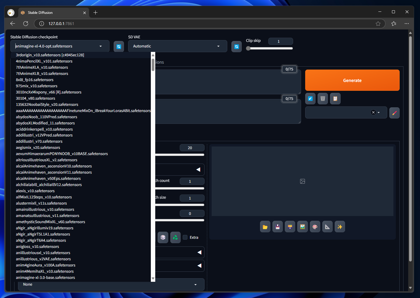
[Stable Diffusion checkpoint]のドロップダウンリストボックスをクリックします。 ドロップダウンリストが表示され、Stable Diffusion WebUI A1111にインストールしてあるCheckpointの一覧が表示されます。
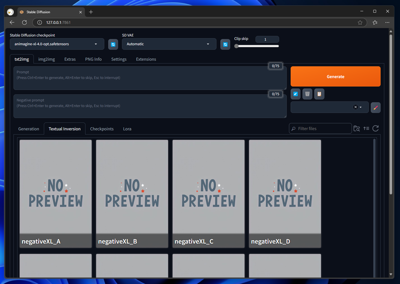
同様に、Textual Inversion や Lora もStable Diffusion WebUI A1111にインストールしてあるものが表示されます。
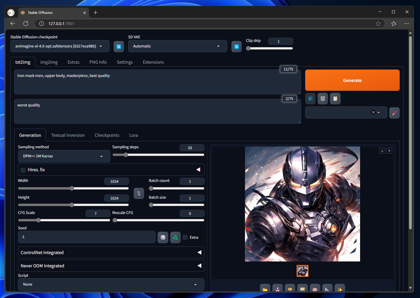
プロンプトを入力して[Generate]ボタンをクリックして画像を生成を実行します。画像が生成できており、動作が確認できました。