最近Krea2の派生モデルも増えてきたので、Krea2用のLoRAを学習してみたいです。どのようにすればKrea2のLoRAを作成できますか?
SDXLやAnimaではSDスクリプトを利用しますが、Krea2ではmusubi-tunerを利用します。

Krea2のLoRA学習手順を紹介します。
Krea2のLoRA学習をするためのプログラム、musubi-tunerをインストールします。
インストール手順はこちらの記事を参照してください。
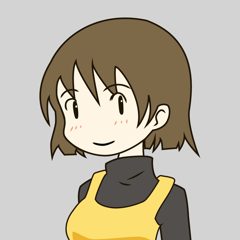
LoRAで学習させる画像データを準備します。今回は1枚だけの画像で学習してみます。
学習させたい画像データと画像を説明するテキストファイルを配置します。今回は画像1枚を学習します。
キャプションのテキストは以下です。トリガのワード"krea_small_eye" と画像を表現する自然言語のキャプションを記述しています。
krea_small_eye, close-up portrait of a woman in three-quarter view, long hair.
学習データを配置したディレクトリの一つ上のディレクトリに、dataset.tomlファイルを作成します。
ファイルの内容は以下となります。
[general]
resolution = [(画像の解像度基準幅), (画像の解像度基準高さ)]
caption_extension = ".txt"
batch_size = (バッチサイズ数)
enable_bucket = (バケットの有効設定)
bucket_no_upscale = (バケットのアップスケール設定)

[[datasets]]
image_directory = '(学習画像のディレクトリ)'
cache_directory = '(キャッシュファイルの保存ディレクトリ)'
num_repeats = (リピート数)
[general]
resolution = [1024, 1024]
caption_extension = ".txt"
batch_size = 1
enable_bucket = true
bucket_no_upscale = false


[[datasets]]
image_directory = 'D:\data\lora-krea2-small-eye-single\image'
cache_directory = 'D:\data\lora-krea2-small-eye-single\cache_krea2'
num_repeats = 64
enable_bucket = true の場合、アスペクト比を保ちながら近いbucket解像度へリサイズされます。
resolution = [1024, 1024]
        ↓
基準面積 ≒ 1,048,576 pixels
        ↓
正方形     1024×1024
縦長       768×1344 付近
横長       1344×768 付近
学習データを配置したディレクトリの一つ上のディレクトリに、config.tomlファイルを作成します。
ファイルの内容は以下となります。
dit = "(学習元モデルファイルのパス)"
vae = "(VAEのフルパス)"

dataset_config = "(dataset.tomlのフルパス)"

output_dir = "(出力ディレクトリのフルパス)"
output_name = "(LoRAの出力名)"

network_module = "networks.lora_krea2"
network_dim = (Dimの値)
network_alpha = (Alphaの値)

optimizer_type = "(オプティマイザの値)"
learning_rate = (学習率)

max_train_epochs = (学習エポック数)
save_every_n_epochs = (何エポックごとに保存するか)

mixed_precision = "(精度)"
gradient_checkpointing = (Gradient Checkpoint の有無)

convrot_int8 = (Convrotの指定)
convrot_int8_bwd = "(Convrotの精度)"

timestep_sampling = "shift"
weighting_scheme = "none"
discrete_flow_shift = 2.5

max_data_loader_n_workers = (ワーカー数)
persistent_data_loader_workers = (ワーカーを使いまわすかの設定)

cache_latents = (Latentのキャッシュをするかの設定)

sdpa = true

seed = (シード数)

[Sample]
sample_every_n_epochs = (何エポックごとにサンプル画像を生成するか)
sample_prompts = "(プロンプトのテキストファイル)"
text_encoder = "(テキストエンコーダーのフルパス)"
dit = "D:/data/model/krea2_raw_int8_convrot.safetensors"
vae = "D:/data/model/qwen_image_vae.safetensors"

dataset_config = "D:/data/lora-krea2-small-eye-single/dataset.toml"

output_dir = "D:/data/lora-krea2-small-eye-single/output"
output_name = "krea2-small-eye-single"

network_module = "networks.lora_krea2"
network_dim = 32
network_alpha = 16

optimizer_type = "adamw8bit"
learning_rate = 1e-4

max_train_epochs = 10
save_every_n_epochs = 1

mixed_precision = "bf16"
gradient_checkpointing = true

convrot_int8 = true
convrot_int8_bwd = "bf16"

timestep_sampling = "shift"
weighting_scheme = "none"
discrete_flow_shift = 2.5

max_data_loader_n_workers = 2
persistent_data_loader_workers = true

cache_latents = true

sdpa = true

seed = 42

[Sample]
sample_every_n_epochs = 1
sample_prompts = "D:/data/lora-krea2-small-eye-single/sample-prompts.txt"
text_encoder = "D:/data/model/qwen3vl_4b_bf16.safetensors"
D:\data\model\に Krea2のRAWモデル(krea2_raw_int8_convrot.safetensors)、VAE(qwen_image_vae.safetensors)
の各モデルを配置します。D:\data\model\に配置します。学習のため、qwen3vl_4b_fp8_scaled.safetensors より qwen3vl_4b_bf16.safetensorsを利用する方が推奨です。
今回spdaを利用していますが、ほかの選択肢として以下があります。通常はSPDAで問題ないです。
SPDA以外の場合はsplit_attn = trueも推奨されています。
| 設定 | 特徴 | 追加依存 | Krea2での扱い |
|---|---|---|---|
sdpa = true | PyTorch標準、安定 | なし | |
flash_attn = true | 高速になりやすい | FlashAttention必要 | GQAネイティブ対応 |
flash3 = true | FlashAttention 3系 | 対応環境必要 | 選択可能 |
sage_attn = true | 高速・省VRAMを狙える | SageAttention必要 | GQAネイティブ対応 |
xformers = true | 定番実装 | xformers必要 | KV headを内部展開 (split_attn = true が必要) |
また、動作確認後、さらに高速化する方法として compile = true オプションもあります。
主要な28個の SingleStreamBlock を torch.compile でコンパイルする機能を有効にしますがWindowsでは不安定になるという情報もあります。
サンプル画像を作成する際に利用するプロンプトを記述したテキストファイルを配置します。
プロンプトのテキスト --w (サンプル生成画像の幅) --h (サンプル生成画像の高さ) --d (シード値)
...
...
anime girl portrait, upper body, looking at viewer, long hair, small natural eyes, gentle smile, delicate face, refined painterly anime illustration, clean linework, well-defined cel-style shadows, subtle painterly shading, soft lighting, simple blurred background --w 1024 --h 1024 --d 10000
anime girl portrait, upper body, looking at viewer, long hair, small natural eyes, gentle smile, delicate face, refined painterly anime illustration, clean linework, well-defined cel-style shadows, subtle painterly shading, soft lighting, simple blurred background --w 1024 --h 1024 --d 20000
musubi-tunerを実行するバッチファイルを作成します。
python src/musubi_tuner/krea2_cache_latents.py ^
  --dataset_config (Dataset.toml ファイルのフルパス) ^
  --vae (VAEファイルのフルパス)

python src/musubi_tuner/krea2_cache_text_encoder_outputs.py ^
  --dataset_config (Dataset.toml ファイルのフルパス) ^
  --text_encoder (テキストエンコーダーファイルのフルパス) ^
  --batch_size 1

accelerate launch ^
  --num_cpu_threads_per_process 1 ^
  --mixed_precision bf16 ^
  src/musubi_tuner/krea2_train_network.py ^
  --config_file=(config.toml ファイルのフルパス)
python src/musubi_tuner/krea2_cache_latents.py ^
  --dataset_config D:\data\lora-krea2-small-eye-single\dataset.toml ^
  --vae D:\data\model\qwen_image_vae.safetensors

python src/musubi_tuner/krea2_cache_text_encoder_outputs.py ^
  --dataset_config D:\data\lora-krea2-small-eye-single\dataset.toml ^
  --text_encoder D:\data\model\qwen3vl_4b_bf16.safetensors ^
  --batch_size 1

accelerate launch ^
  --num_cpu_threads_per_process 1 ^
  --mixed_precision bf16 ^
  src/musubi_tuner/krea2_train_network.py ^
  --config_file=D:\data\lora-krea2-small-eye-single\config.toml
コマンドプロンプトを表示して、または直接作成したexec.batを実行します。
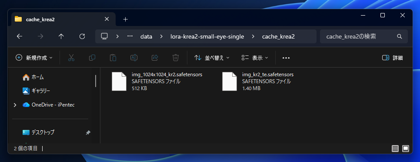
キャッシュディレクトリにはlatentとtext encoderのキャッシュファイルの 2つのファイルが保存されます。
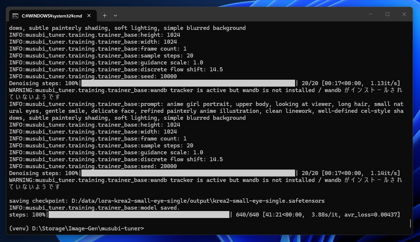
学習処理が始まり、完了しました。
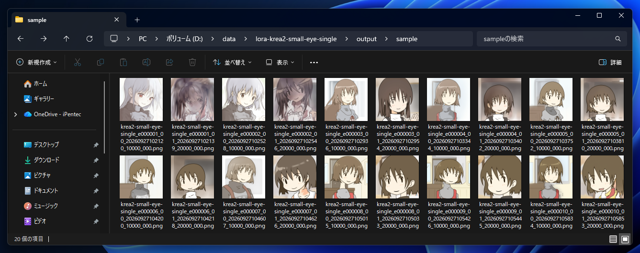
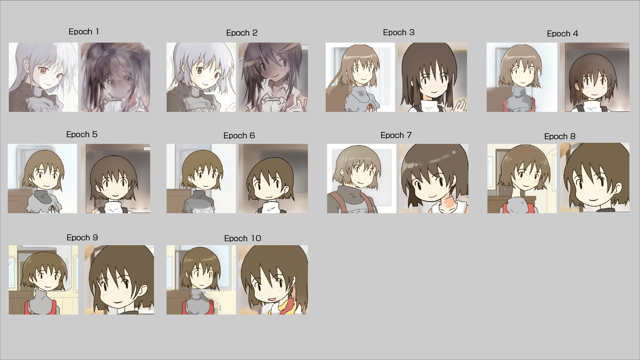
出力ディレクトリのsampleディレクトリに出力された画像を確認します。
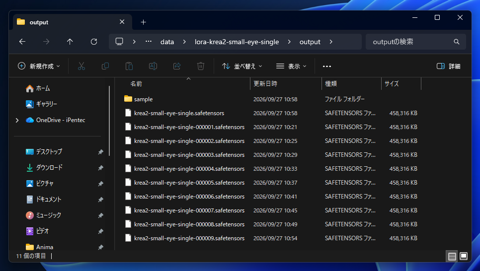
出力ディレクトリにLoRAのファイルが保存されています。
サンプル出力の結果を確認したところ。Epoch 7あたりが良さそうなので、エポック7のLoRAを導入します。
今回はComfyUIで利用します。以下のディレクトリに作成したLoRAを配置します。
(CmofyUIの配置ディレクトリ)\ComfyUI\models\loras
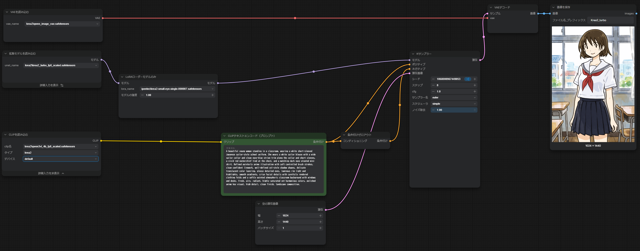
ワークフローは下図です。
プロンプトは以下を利用しています。
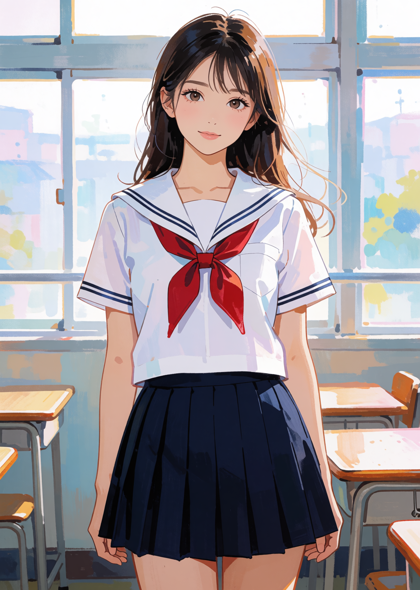
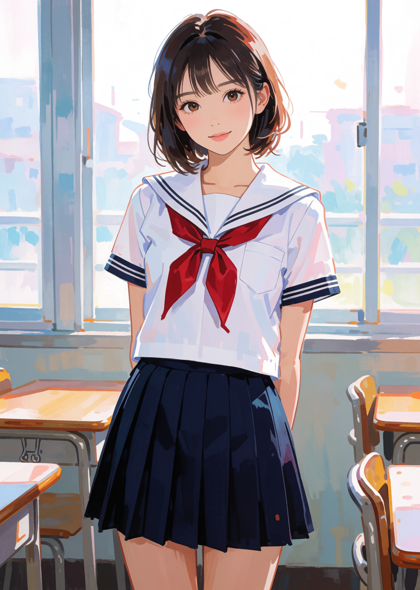
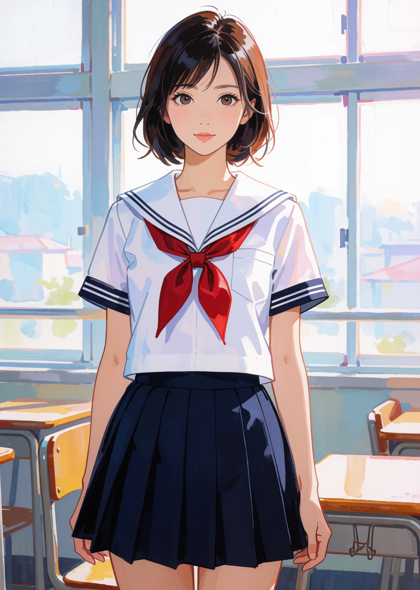
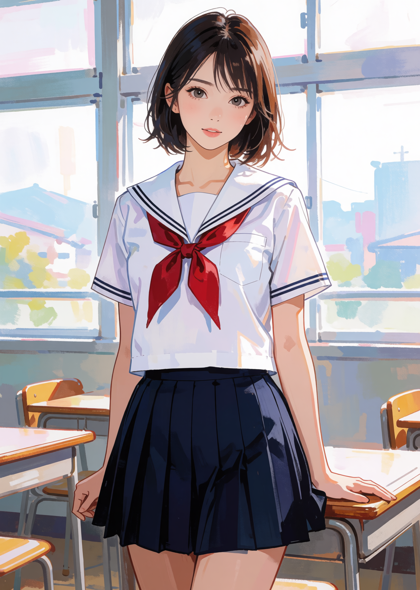
画像生成結果は下図です。
LoRAありでモデルの強度が1.0の場合の結果です。
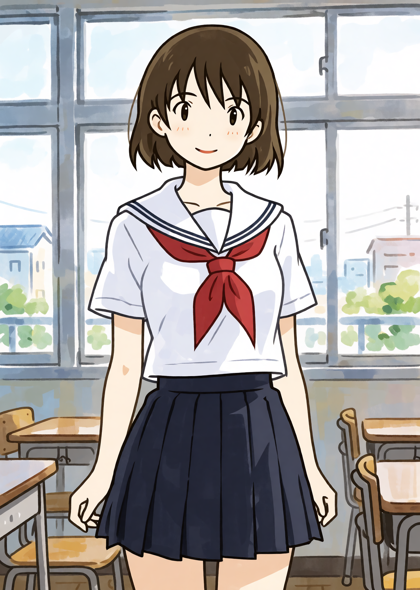
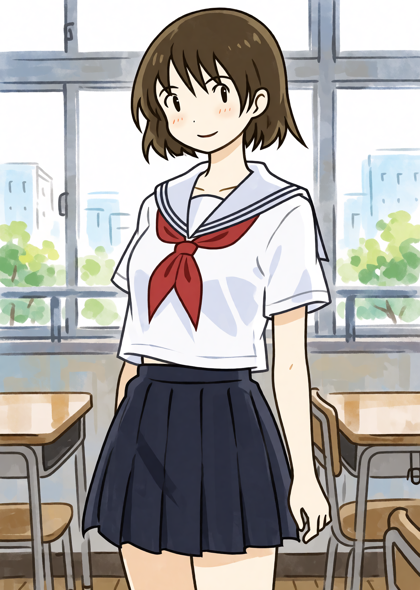
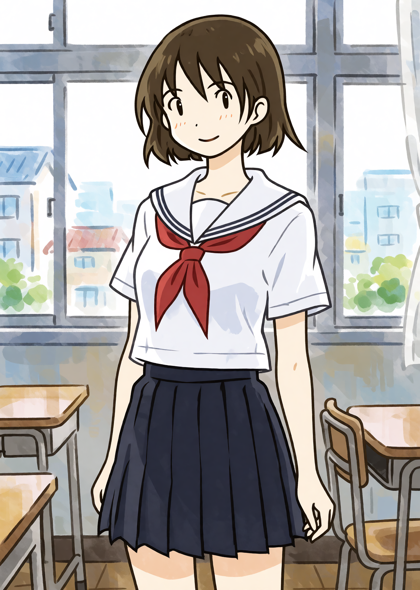
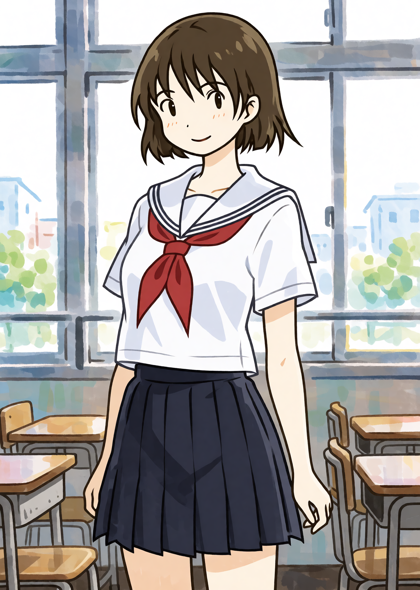
LoRAありでモデルの強度が0.5の場合の結果です。
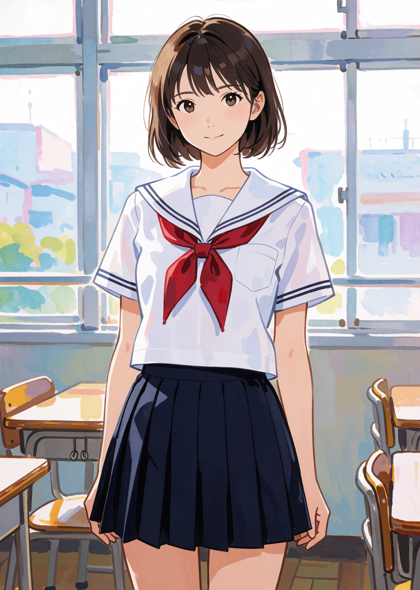
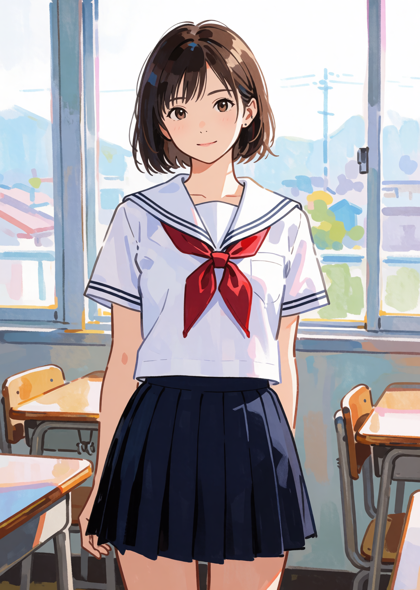
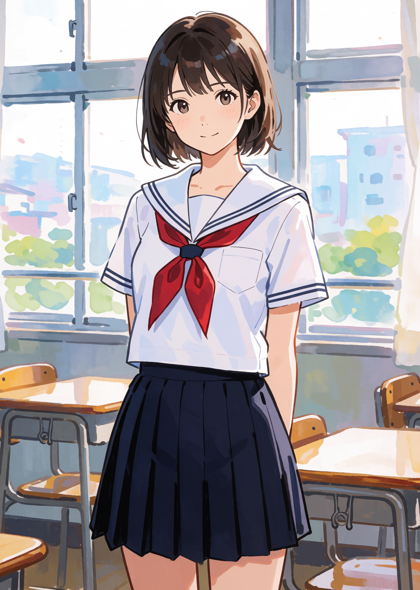
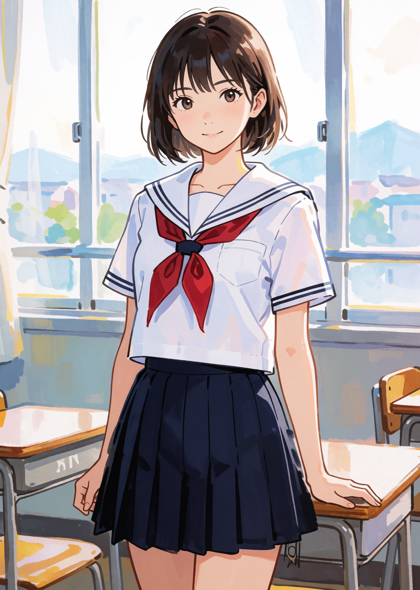
LoRAなしの場合の結果です。
学習したキャラクターの絵柄が反映されることが確認できました。